Easy Daisy Cake Tutorial
I have made all of Henley’s birthday cakes, since her 1st birthday. Would it be a heck of a lot easier to buy them, absolutely! But I think it’s fun! My mom was a professional cake decorator when Iw as a kid and I always remember going to classes with her and helping her make cakes in our kitchen.
If you want to make your own cake, check out this blog post for the full breakdown of how I make them and I truly believe it’s a killer method that will help you make cakes that look like they came straight from a bakery.
This year, Henley really wanted flower balloons, so I just leaned all the way into the flower theme and made her a daisy cake! It was super simple and just took some time. But anyone can make it, so I’ll show you how!
What you need:
Frosted Cake(If you don’t want to do this yourself, you can buy plain cakes from your grocery store bakery)
Yellow Gell Food Coloring (I used Wilton Buttercup)
Toothpick
1 Egg White
Water
Rolling Pin
Gloves
What might help:
Corn Starch
Silicone sheet or parchment paper
New Paintbrush
Sharp knife
Let’s get to it!
Warm up your fondant. Break off a chunk of fondant the size of a tennis ball, then work it in your hands & knead it until it’s soft and pliable. Wearing gloves helps it from sticking to your hands.
Roll it out until it’s a uniform thickness, somewhere around 3/8” thick. Thin enough to be pliable and form around the cake, but thick enough it doesn’t fall apart when you try to pick up the flowers. If it is sticking to your counter or rolling pin, dust it lightly with corn starch.
Using the largest two flower cutters, cut out your flowers. Then transfer them to a sheet of parchment paper or a silicone baking mat. It’s not a bad idea to dust that with corn starch too.
Gather up the scrap, roll it into a ball and then roll it out and repeat the process until you have enough flowers. to cover your cake.
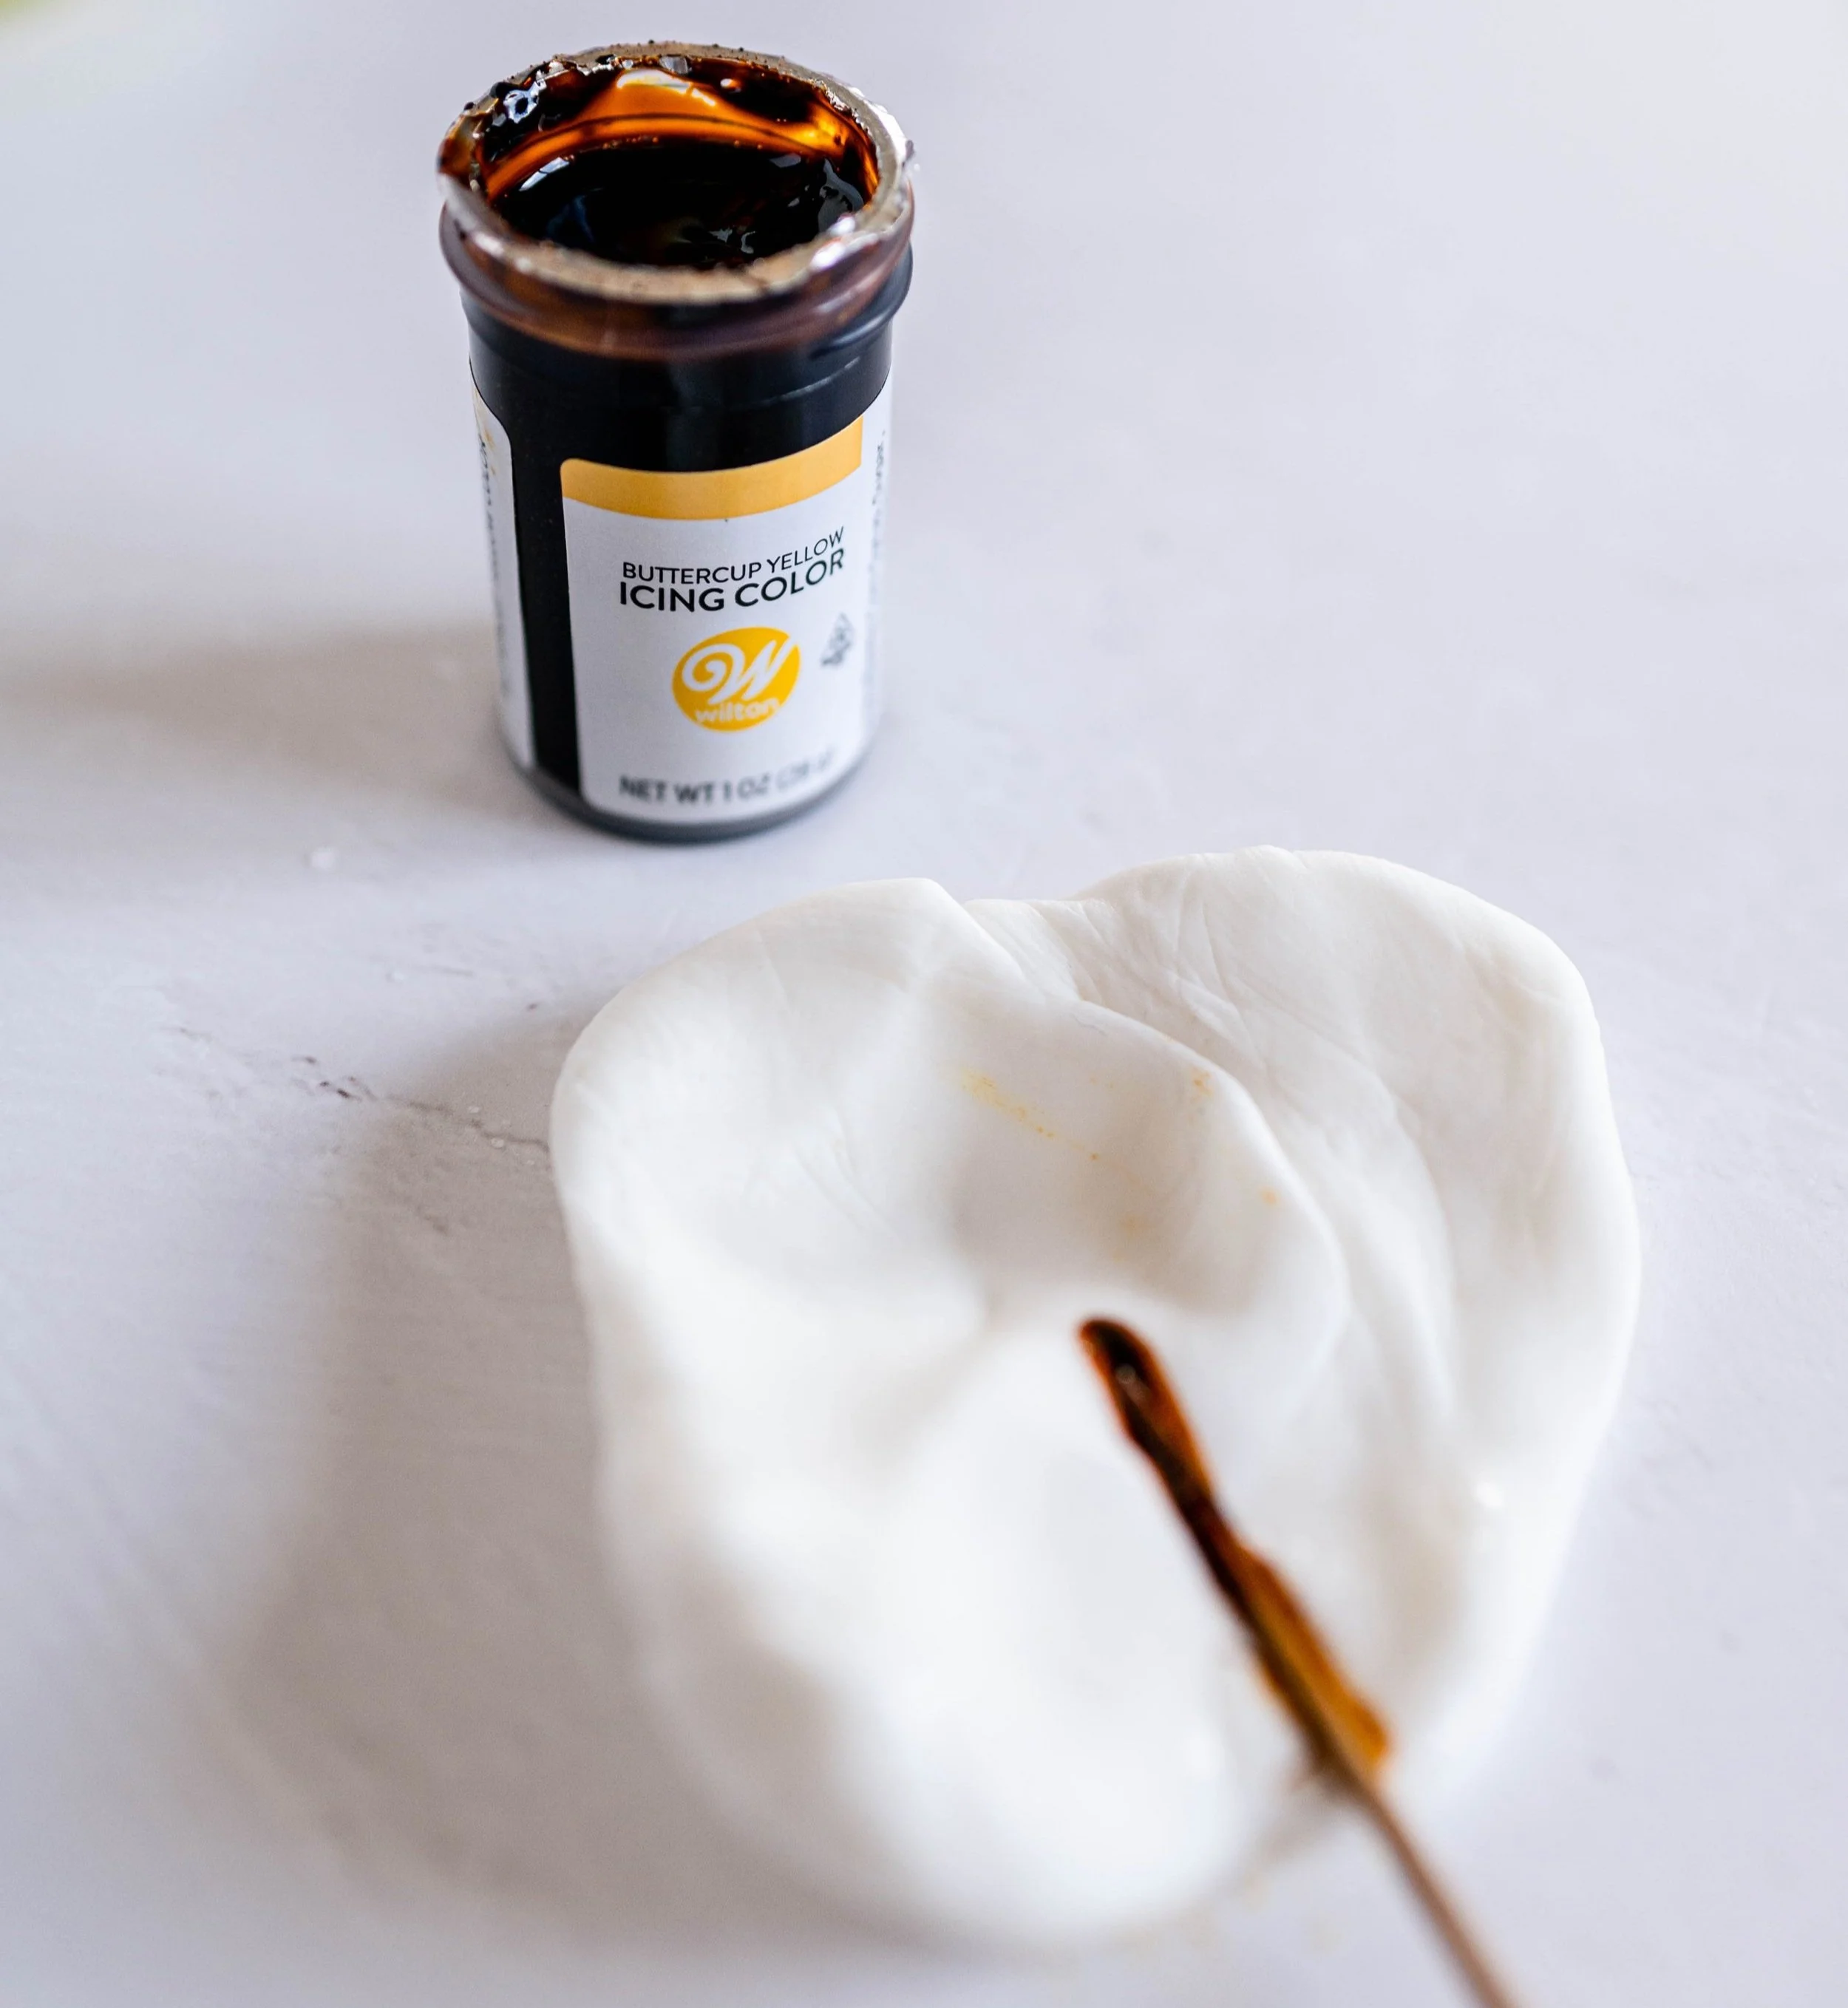
Now grab a small chunk of fondant. You need less than you think. Using a toothpick, dip it in the gel coloring and then wipe it off onto the fondant.
Knead the fondant in your hands until the color is distributed throughout. If you want more color, then add more. If it’s too dark, add more white fondant. If you knead it on your counter, I suggest putting down some parchment paper or something to protect your counter from getting stained with food coloring.
Break off tiny bits of fondant & roll them into balls. Make a bunch and set them aside.
Gently squish the balls of fondant with your finger. These are your flower centers.
Using a clean paintbrush or your finger, dip it in the egg white and then in the center of a flower. This is what helps the centers stick to the flowers.
Place a yellow flower center on the egg white you just put on the flower. Repeat with the remaining flowers.
Now that your flowers are all made, it’s time to place them on the cake!
Using your finger or the paintbrush, put a tiny bit of water on the back of a flower. You barely need any. This helps it stick to the frosting of the cake.
Then stick the flower on the cake. Repeat until the cake is covered. You can use a knife and cut some flowers to use along the bottom edge of the cake.
Transfer your cake to a cake stand if it isn’t already on one & that’s it! YOU DID IT!
If you’re not serving right away, store the cake in the fridge until you are.
It may be a little time consuming(It took me a little over an hour and I had a toddler helping me) but it’s pretty simple and so cute!
This is the balloon garland I ordered from Amazon! It came with the daisy balloons and was perfect I have a whole tutorial on how to make a balloon garland here!
If you make this, please share in your Instagram stories and tag me @morgantaylerathome ! I’d LOVE to see it!!
Some links are affiliate links, meaning I make a small percentage of your purchase at no cost to you! Thank you for supporting me and the blog so I can keep sharing things like this!
xoxoxo -Morgan


