What I Learned From my First Year Growing Dahlias
Let’s just jump into it! I grew dahlias for the first time last year(2021) & learned SO MUCH! I’m the kind of person that does all sorts of research before I start a project, & this was no different! I bought the books, joined the Facebook groups, followed all the dahlia farmers, and watched all the YouTube videos! I don’t like to feel unprepared, so I do all I can to prepare. If you are growing dahlias for the first time(yay!), then learn from my mistakes:
Buy from reputable local farmers. My first two plantings of dahlias last year didn’t grow at all. And they were all tubers we grabbed from Lowes. It’s hard to resist all those pretty flowers on the labels in early spring, but unless you know exactly what you’re looking for, and are willing to gamble with a couple diseases, just pass them by & find a local grower to support! Here in the Tri Cities, I LOVE Columbia River Dahlias. I got six new varieties from her this year & they’re always great quality! I’m excited to add them to my collection! Another grower I’m supporting is Gray Girl Farms in my hometown of Royal City. Last year, after I realized that nothing I had planted from Lowes was going to grow, the local growers were sold out & I was able to get a “grab bag” of tubers shipped to me from Pretty Flower Farm in Arlington, Washington that produced every single flower I grew!
Don’t plant until ALL chance of frost is gone. I know it’s tempting to plant them as soon as it starts to warm up, but we still have freezing nights & that’ll kill a planted tuber dead in its tracks. Wait until your local last frost date or until you are confident that all chances of freezing temperatures are gone! You want your soil to be at or above 55º F.
Plant in an area that gets 6+ hours of sunlight & that has well draining soil. Wet soil will kill a tuber almost as fast as a freeze will. Soil that’s too moist or what collects too much water will rot the tuber before you even see growth. When you plant them, don’t even water them in unless your soil is extremely dry, then wait until you see growth above the surface to
Pinch them. Once you get 4-5 sets of leaves on your plants, pinch out the center stem. I know this is counterintuitive, but it tells the plant to essentially double the amount of blooms it will produce!
Stake them, and stake them well. Some of these plants can be 6’ tall! That means that they will needs lots of support when they are full of blooms so they don’t topple over. Last year I used bamboo stakes, and while they worked well for the majority of the plants, they weren’t enough for the bigger ones. Especially when that Columbia Basin wind rips through the area. This year I’m probably going to try t-posts and twine of some sort, we’ll see.
Pick them often & cut deep. They will start to produce flowers in late July(here in the Columbia Basin) and will bloom all the way until they get a killing frost that usually happens in October sometime! Don’t be afraid to pick the flowers and take nice deep cuts, meaning you may end up picking a bud or two with the bloom. That was so hard for me to do because I knew that bud would turn into a beautiful flower in a couple weeks if I just left it, but by taking cuttings like that, you’re telling your plant to produce even more buds.
Take pictures! I was pregnant and in my first trimester when my plants finally kicked it into gear last year & I hardly took any photos because I just felt so crappy. I’m a photographer & didn’t pull out my big camera once! I won’t make that mistake this year! Take photos of the plants & bouquets you’re proud of. Then you can look at them all year round and yearn for the fall when your plants are loaded with blooms!
Give them away! I know you might just want to keep all the beauty to yourself, but I found so much joy in just bringing a mason jar of flowers to a friend, neighbor, or family member. It’s simple & doesn’t take much time, but it will ALWAYS make someone’s day!
Watch them multiply. Much like a single potato that’s planted & produces dozens of other potatoes, dahlia tubers multiply underground. One of my tubers that I planted last year produced 21 tubers in one growing season! These are able to be divided and then planted next year. So that one plant will turn into 21 if they all survive the winter! It really makes it so satisfying to see your work pay off in the form of flowers, and also tubers for next year or to share with others.
Store them. Once they are killed with a hard frost and have died back, you can dig, divide, and store them if you’d like! Here in zone 7b, tubers typically don’t survive winter underground unless they are VERY well protected, and even then, it’s a gamble. So if you don’t want to have to buy all new tubers next year, you’re going to want to store them over winter. I found that for me, dividing in the fall & storing in moist vermiculite, in plastic shoe boxes, in an unheated attached garage, worked well for me. You need to store them somewhere that’s cool, but won’t freeze, and is dark. There’s tons of YouTube videos out there to show you how to do it and different methods, but this worked well for me!
Repeat the process!
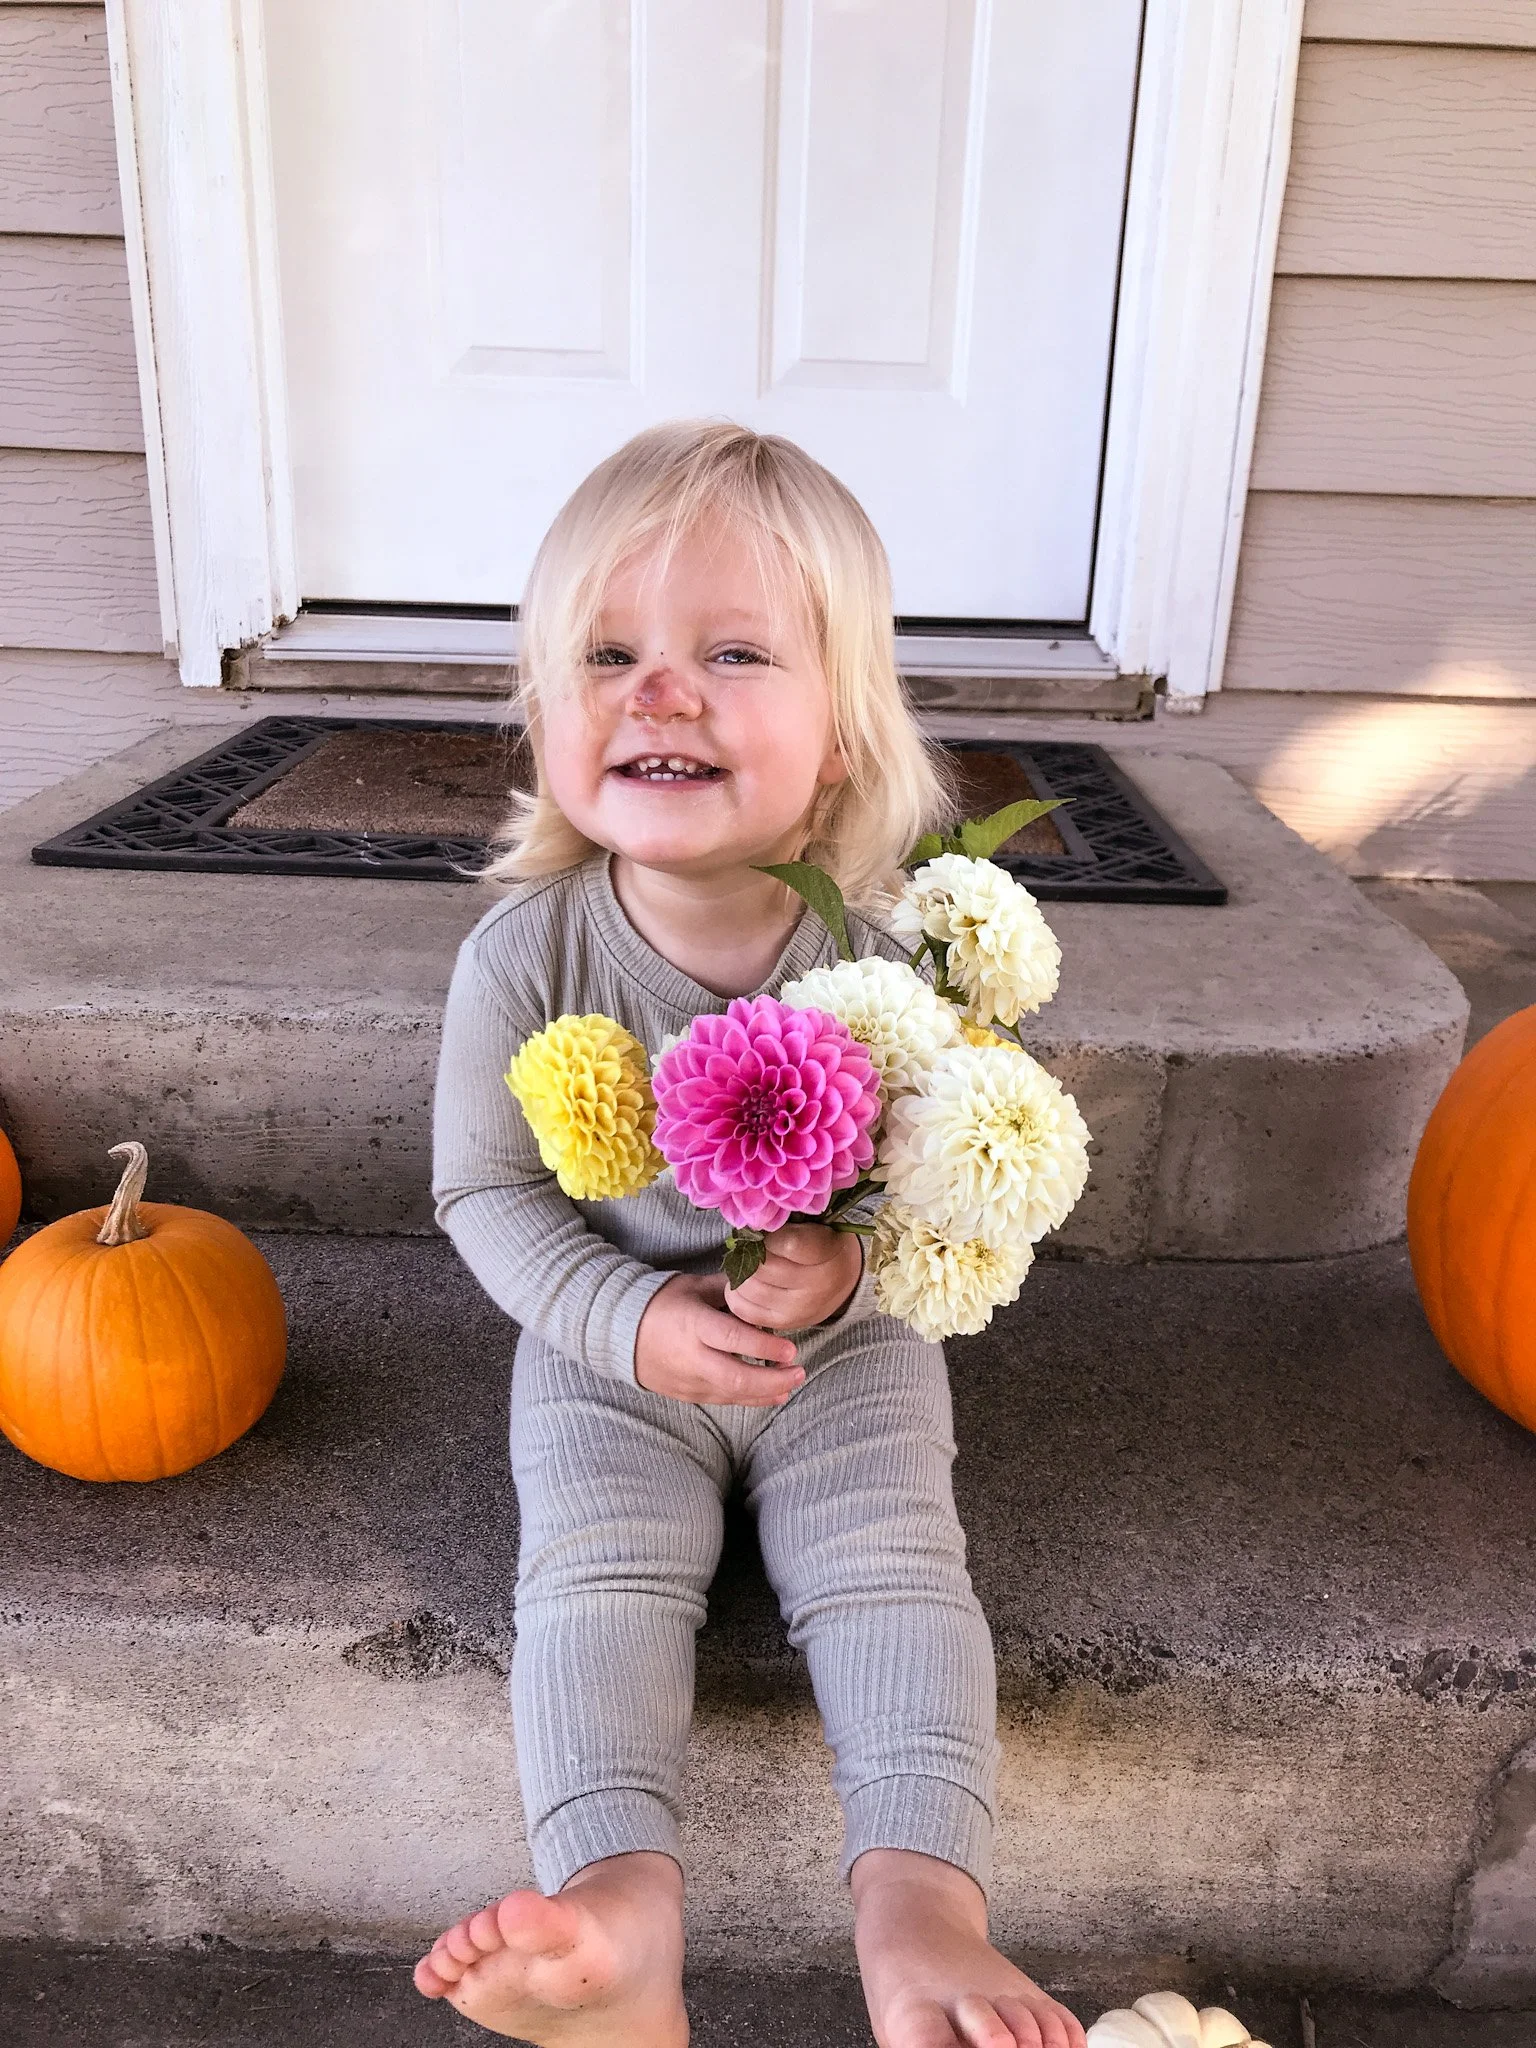
I’m so excited to start my second year of growing dahlias. This year I’m planting so many plants that it may totally consume my life, but my whole family loves them! I love the pastels & soft colors, Jarin loves the big, bold, colorful blooms, & Henley likes them all! When I go out to pick in the mornings, I always bring out a cup of water for her, and as I’m picking, the ones that are a little past their prime, or have wind or bug damage, I give to her and she makes her own little arrangement with it. She thinks it’s the best thing and I’m sure she’ll love it even more this year!
My Favorite Dahlia Resources:
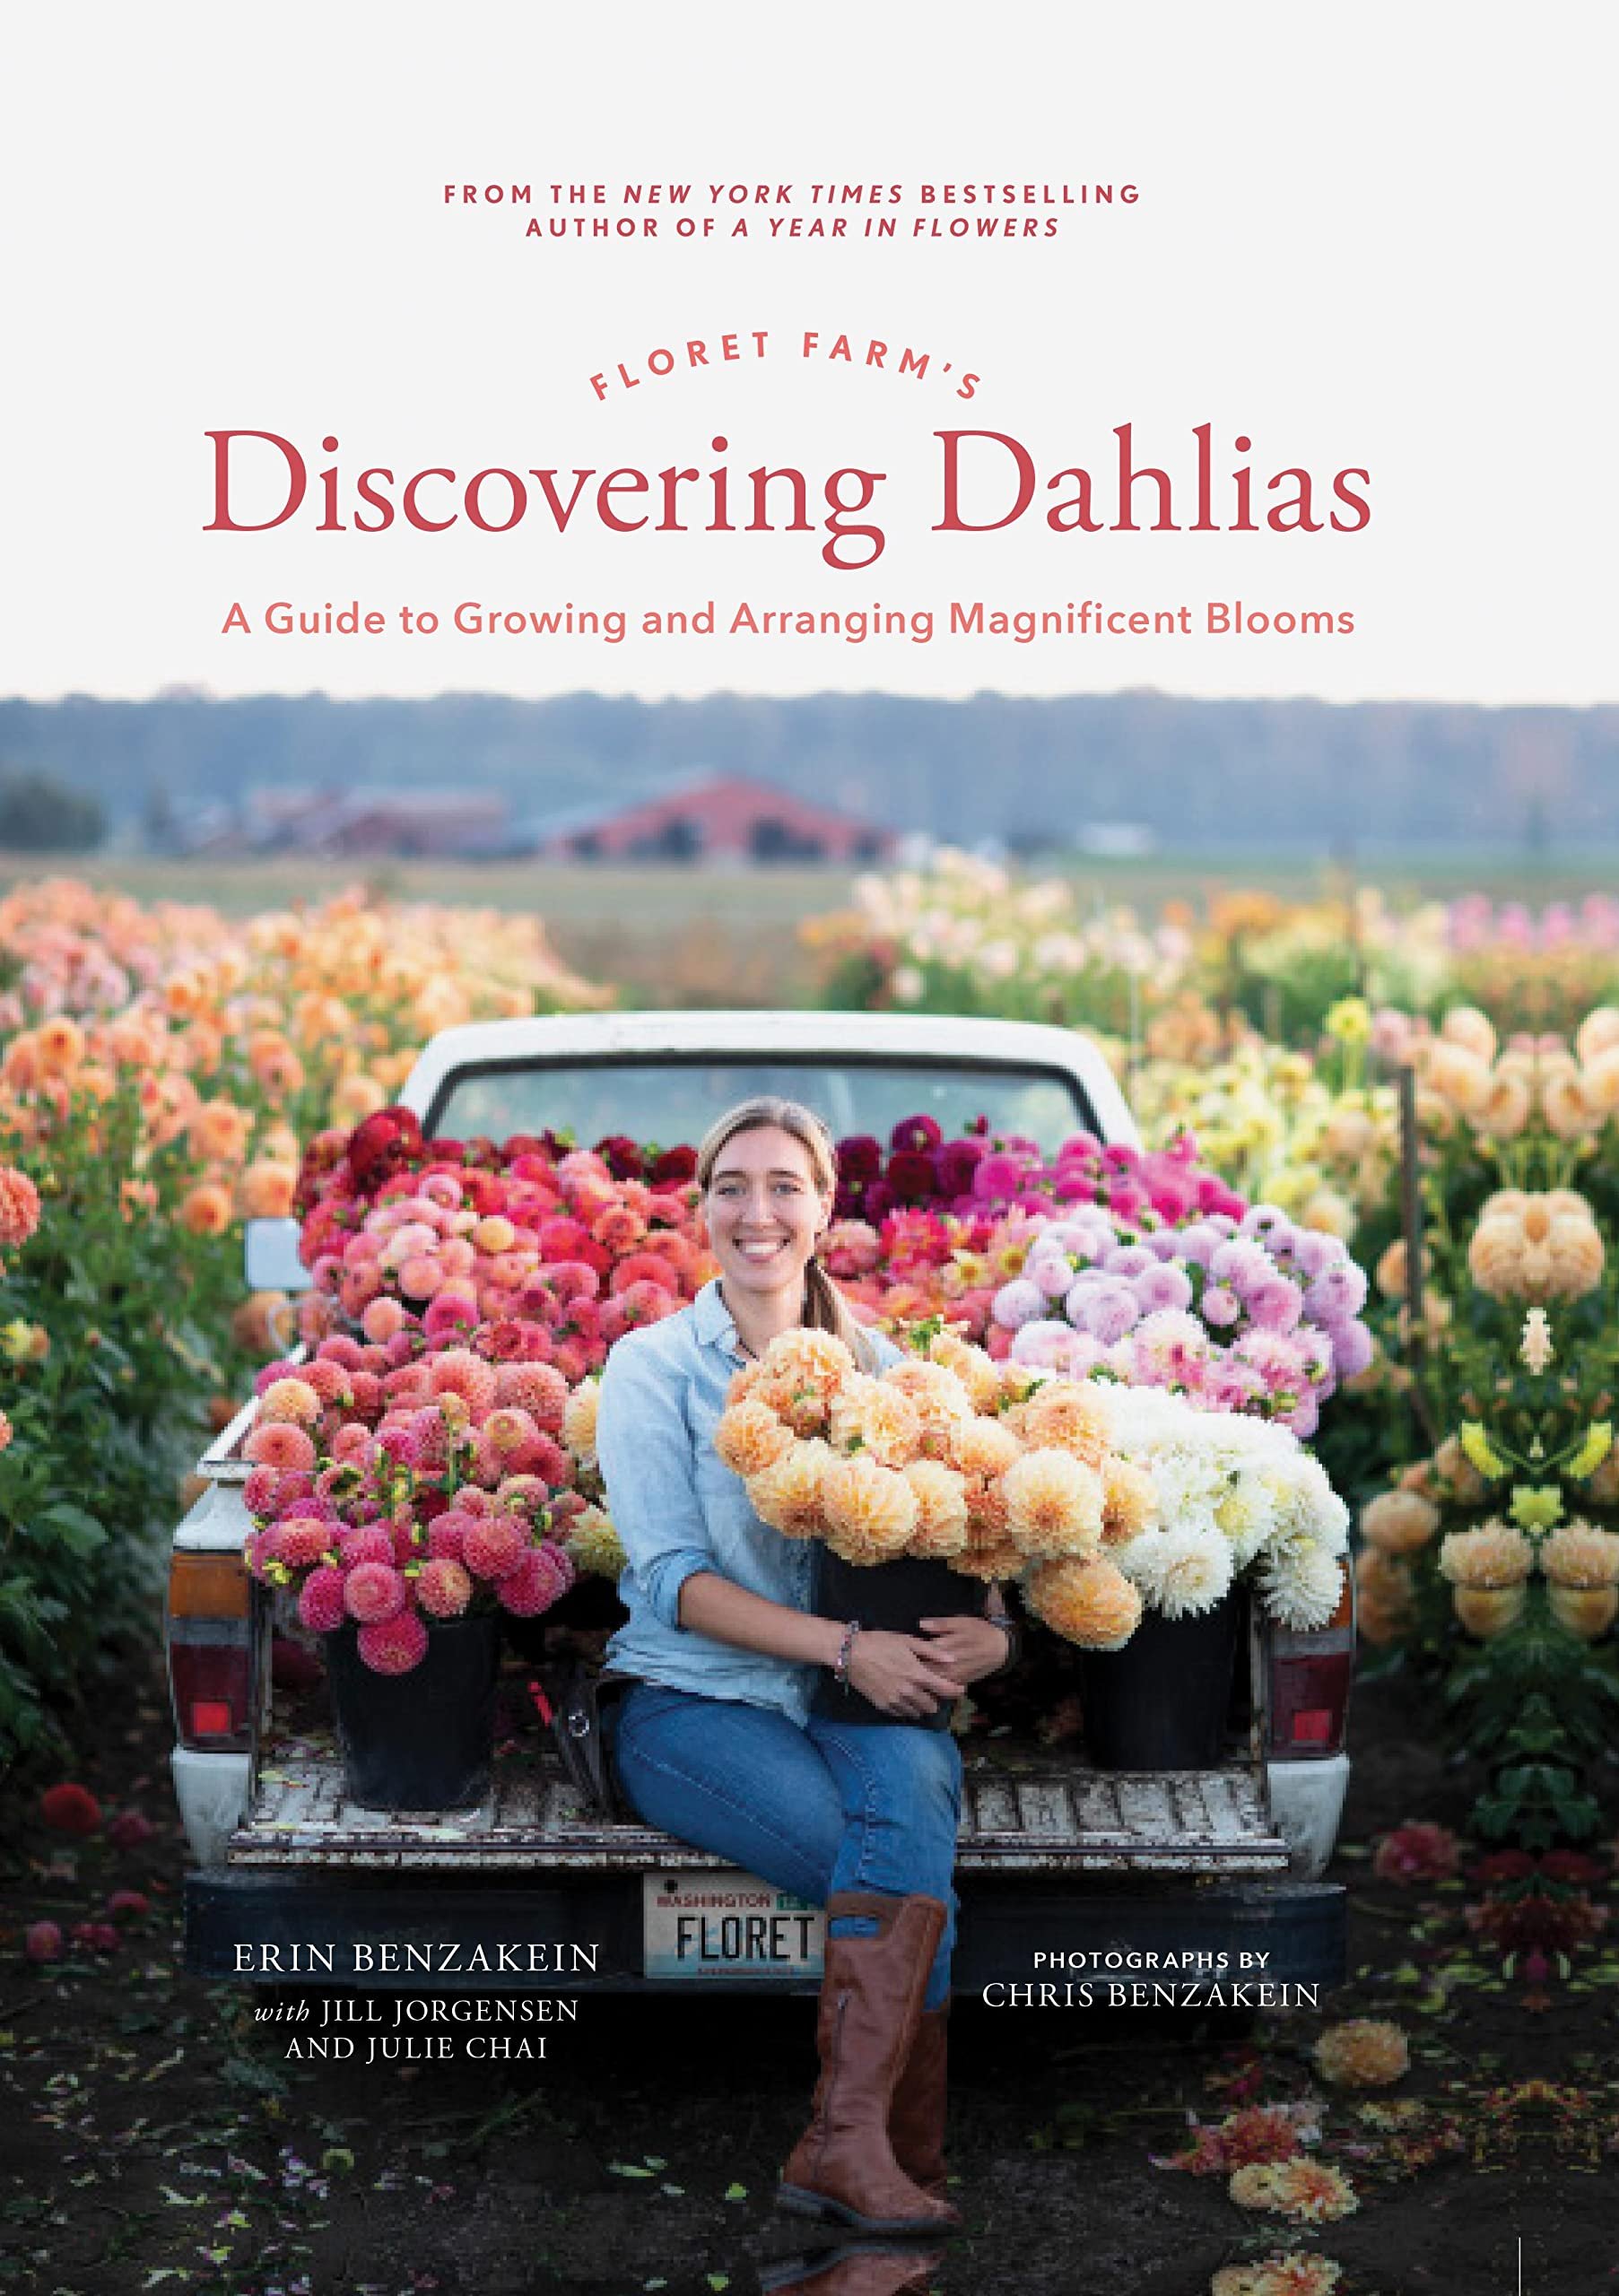
Book: Floret Farm’s Discovering Dahlias - By Erin Benzakein
YouTube: Garden Answer
Facebook Group: Dahlia Growers Facebook Group
As an Amazon Associate, I earn from qualifying purchases through some links at no cost to you. By doing so, you are supporting me & the blog. Thank you!!! XOXO


