
Bakery Quality Cakes at Home
Backstory:
When I was a little girl, my mom love to make cakes. I remember going to her cake class with her once and soaking up everything they were teaching. Then she started her business and began making custom wedding and birthday cakes out of our kitchen. Which means we also had the best birthday cakes growing.
Fast forward 20 years & I now get to make birthday cakes for my kids! I love the process of figuring out what the theme will be, what colors to use, what stand to use, etc. It’s so fun & uses my creative muscles that I love to exercise.
This year, my 2 girls’ birthdays are 9 days apart, so I asked my oldest who is turning 5, if she wanted to do separate birthdays or do them together. She’s obsessed with her baby sister so of course she wanted to do them together!
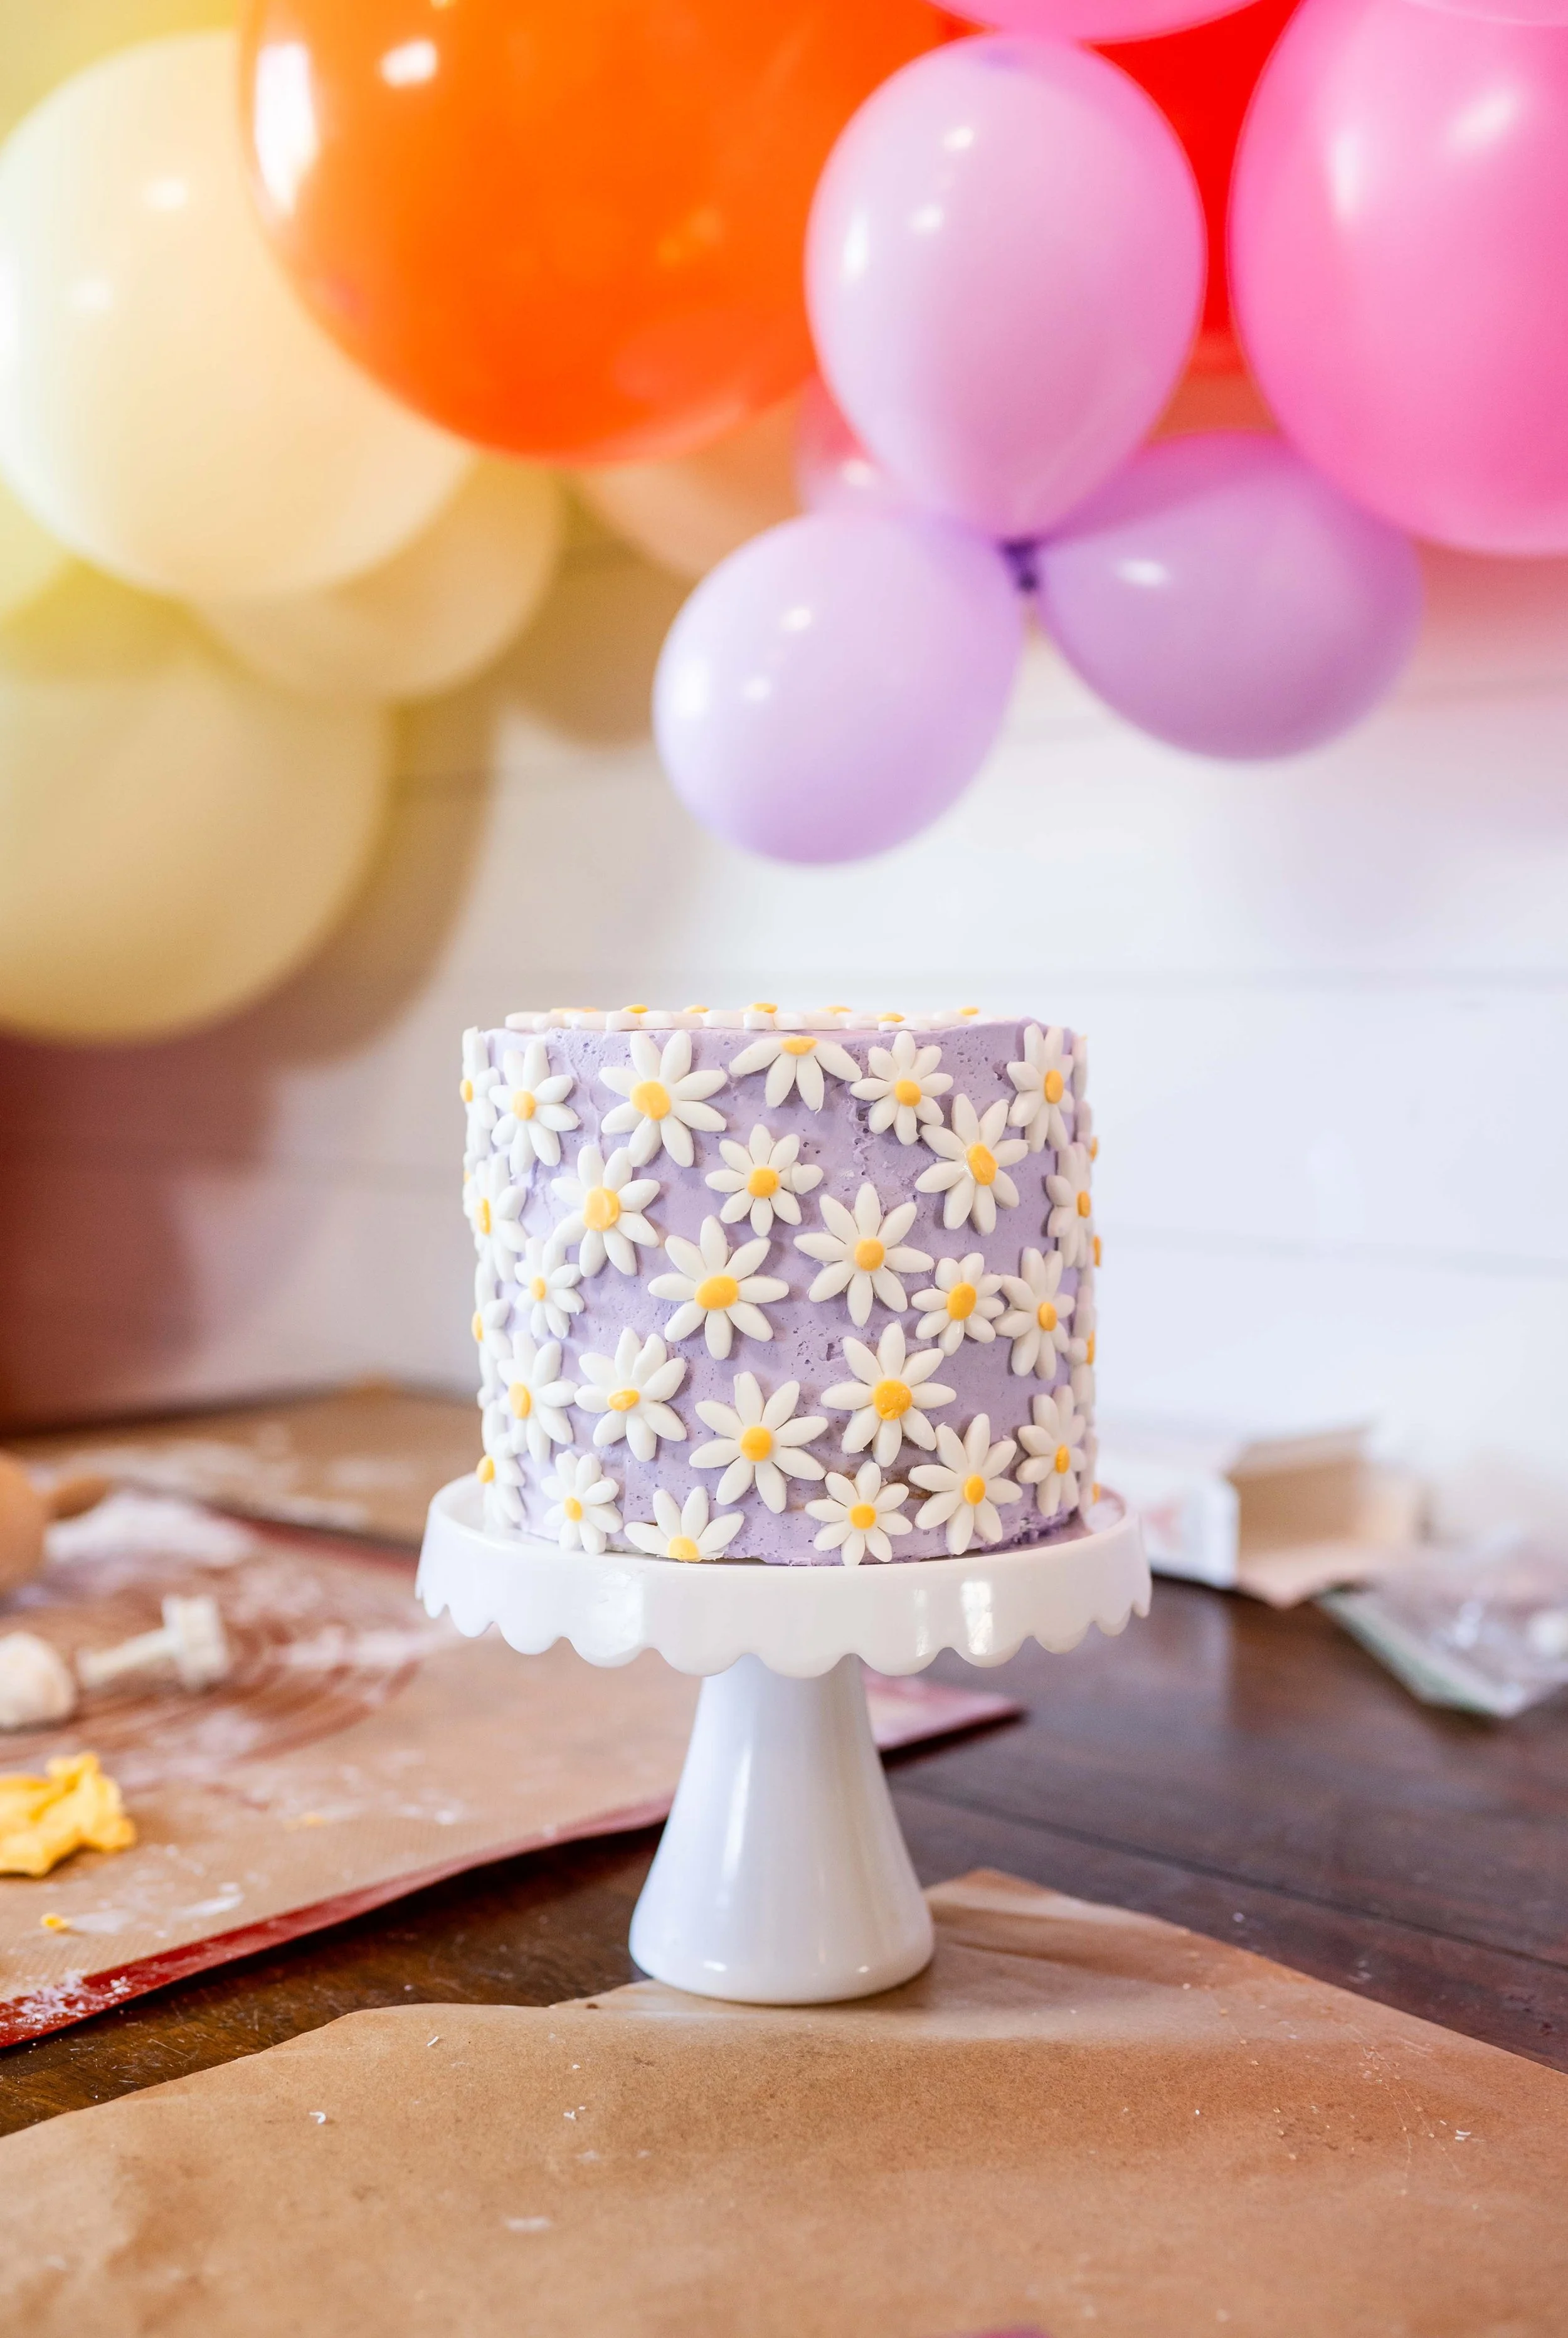
She’s old enough that she has an opinion, so I asked her what kind of cake she wanted & I would make the baby’s match. She requested this daisy cake that I had made for her a couple years ago, but this time she wanted more color on it. Done. I’ve already made that cake before, it’s pretty simple & I think it’s adorable!
But before we get to decorate the cake, we need to MAKE the cake. This is where my mom’s background comes into play as she taught me how to stack and frost cakes as well as a little bit of my own creativity & way of doing things thrown in there.
Here’s how I do it!

How to Bake the Cake
I use plain old boxed cake mix. Honestly, it’s great as is and it’s so much easier than making one from scratch.
For kids’ birthday cakes, I like to do a 6” stacked cake. With one box of cake mix, I can get three 6” layers baked. I use these 6” pans for every single cake I make & I think they’re the perfect size.
Before you put the batter in the pan, spray it with cooking spray, then add a couple Tablespoons of flour and pat as you turn the pan to coat the whole pan in flour, then dump out any excess. Then place a piece of parchment paper in the bottom(I trace the pan and then cut them out slightly smaller so they fit nicely inside).
Then divide your batter out into the three pans & bake as directed or until a toothpick comes out clean or with moist crumbs.
When you take them out of the oven, use a clean towel and press down on the top of the cake to take out the dome and make it more flat. It doesn’t have to be perfect, but this helps so you don’t have to slice off the top of the cakes.
Then holding the pan with two hands(using a towel or oven mitt), bounce the pan slightly to loosen the sides from the pan. The cake should be loose in the pan, if not, carefully run a butter knife or spatula along the edges to loosen it.
Then lightly dump the cake into your hand and then transfer to a cooling rack to cool.
When they are cool, remove the parchment paper from the bottom & wrap each one in plastic wrap, place on a cookie sheet & move to the freezer. Let them freeze overnight if possible. You want them frozen solid.
Frosting
This is the buttercream frosting recipe I always use and it’s AMAZING. I am not a frosting girl, I usually scrape it off of cakes, but this one is actually good and not too sweet at all.
For one 6”, 3 layer cake you’ll use about 1.5 batches.
After you make the frosting, transfer it to a bowl or use the bowl of your stand mixer and using the back of a silicone spatula or wooden spoon, flatten the frosting & apply some pressure, turning the bowl as you go. This helps get all those little air bubbles out so your frosting goes on smoother. Continue until it’s as smooth as you like.
Stacking
Take your cake pan & trace it onto a piece of cardboard. Cut it out slightly smaller than the circle you traced, then wrap it in foil. This will be your cake board that will help support your cake when it is stacked.
Then take your frozen cakes & unwrap them from the plastic wrap. Do a dry stack and figure out what order you want to stack them. I like to make sure the very bottom & very top edge are the sharpest corners.
I like to use a turntable, but that’s optional. Take your cake board & put some frosting on it to act as the glue to hold your cake still. Then put your bottom cake layer on the pan. Put a good layer of frosting on the cake, spread it out evenly. These cake spatulas are my favorite.
*If you are adding a filling, put a thin layer of frosting on the layer, then make sure the sides have a thicker border of frosting to keep the filling from seeping out. Add your filling to the center and spread it out.
Then add your second layer & repeat. Then your third layer.
Crumb COat
Once your cake is stacked, We’re going to add a crumb coat. This is what keeps the cake crumbs glued to the cake and not getting mixed into the frosting that you’ll see on the outside of the cake.
Using your frosting, put a good sized scoop on the very top of your cake and then on the sides of your cake. Then using your cake spatulas, lightly spread the frosting over the entire cake. There will be more frosting eventually, so we don’t need much here, just enough to cover the cake. Scrape any excess frosting back into the bowl for later.
To smooth the cake, get a metal bench scraper & a bowl of hot water(big enough that the bench scraper can fit into). Dip the bench scraper into the water, turn it 90º so the long metal side is against the cake and then gently scrape the frosting while turning the cake. Scrape off the frosting the comes off into a different bowl and repeat. Use your spatula to fill in any holes that show up with more frosting and do this until the outside is smooth.
Then we move to the top of the cake. Starting at the very edge of the cake, use the bench scraper to scrape the frosting towards the center. This is what helps keep the edges nice and square. Do this until the entire cake is smoothed & has a thin layer of frosting.
Move the cake to the fridge for the frosting to set up for at least an hour.
Frosting
Now that the crumb coat is set up, it’s time to do the final frosting. We’re going to repeat the process that we did with the crumb coat adding frosting to the sides & top of the cake & then smoothing with the cake spatula and then the bench scraper with hot water.
If you are not serving immediately, you can move it to the fridge or leave it at room temperature if you will be serving soon
If refrigerating, remove from the fridge 1-2 hours before serving so it has time to thaw out if it hasn’t already.

Decorating
If I am doing any sort of decorating, I like to wait until the frosting has set up a bit so I’m less likely to bump it and mess it up.
This daisy cake is one of my favorites and is so simple to do, it just takes a little bit of time. I wrote up this tutorial 2 years ago when my oldest turned 3 and she requested it again this year but with pink frosting and we did her sister’s purple.
I hope this helps you the next time you have a family member or friend with a birthday! Making cakes for them has been a favorite thing for me & now that my kids are getting older, they are more involved with their cakes & I love to see where their imaginations take them. Happy baking!
xoxo Morgan
Some links in this post are affiliate links. This means I earn a small percentage of your purchase without any additional cost to you. Thank you for shopping through my links!